無料で使えるGoogleのブログサービス「Blogger」で、ソースコードを見やすくきれいに表示する方法を紹介します。
ソースコードを表示する方法はいくつかありますが、今回はGoogle-code-prettifyを使いたいと思います。
本ブログはWordPressに移行したため、カスタマイズ内容と現在の表示は異なっています。
テーマのHTMLに追加する
テーマのHTMLに、Google-code-prettifyに関する記述を追加します。
念のためバックアップをとってからHTMLの編集を行ってください。
Bloggerのメニューの [テーマ] > 右上のその他アイコン をクリックします。
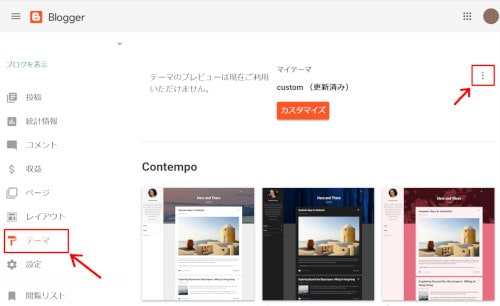
表示されたメニューの [HTMLを編集] をクリックします。

表示されたHTMLの</head>の前に次の内容を追加します。
<!-- Google-code-prettifyを追加 -->
<script src="https://cdn.rawgit.com/google/code-prettify/master/loader/run_prettify.js"/>
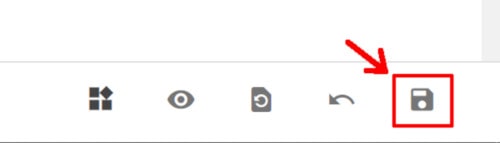
<!-- /Google-code-prettify -->画面右下の「保存」ボタンをクリックして保存します。
Google-code-prettifyを使ってソースコードを表示する
ブログの記事を作成する際、HTMLモードで次のようにソースコードを<pre>タグで囲います。
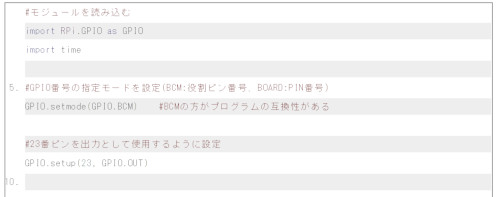
<pre class="prettyprint"> ソースコード </pre>ソースコードは、このように表示されます。
行番号を表示する
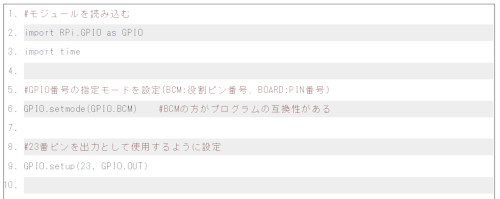
行番号を表示したい場合は、次のように「linenums」という記述を追加します。
<pre class="prettyprint linenums"> ソースコード </pre>白とグレーのしましまになって、5行ずつ行番号が表示されました。
1行ずつ行番号を表示する
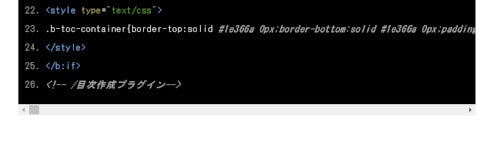
行番号の表示をデフォルトの5行ずつから、1行ずつに変更したい場合は、こちらのcssを追加します。
<style type="text/css">
  /* Google-code-prettifyの行番号を1行ずつ表示する */
  pre.prettyprint.linenums li{ list-style-type: decimal; }
</style>
1行ずつ行番号が表示されました。
スキンを選択する
Google-code-prettifyには、5種類のスキンが用意されています。
Gallery of themes for code prettifyで好みのスキンを選んで、「skin=」で指定します。
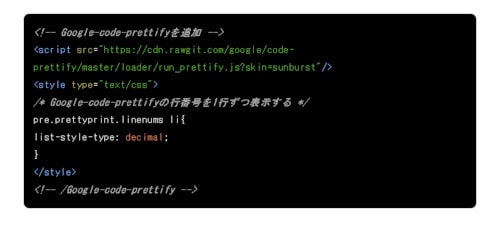
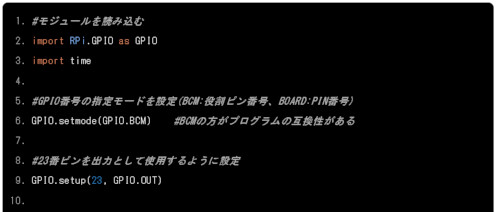
たとえば、「sunburst」というスキンを設定する場合は、このように記述します。
<!-- Google-code-prettifyを追加 -->
<script src="https://cdn.rawgit.com/google/code-prettify/master/loader/run_prettify.js?skin=sunburst"/>
<!-- /Google-code-prettify -->ソースコードが、「sunburst」で表示されます。
言語を指定する
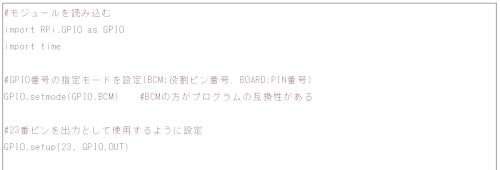
プログラミング言語を指定することもできます。
<pre class="prettyprint lang=python"> pythonのソースコード </pre>スクロールバーを表示する
長いソースが含まれている場合など、スクロールバーを表示したいときは、次のように指定します。
<pre class="prettyprint linenums" style="overflow: auto; word-wrap: normal;">もしくは、cssに次の記述を追加します。
<style> pre.prettyprint { overflow: auto; word-wrap: normal; } </style>スクロールバーが追加されました。
まとめ
ソースコードを見やすく表示できるGoogle-code-prettifyは、オプション指定も簡単なのでとってもおすすめです。